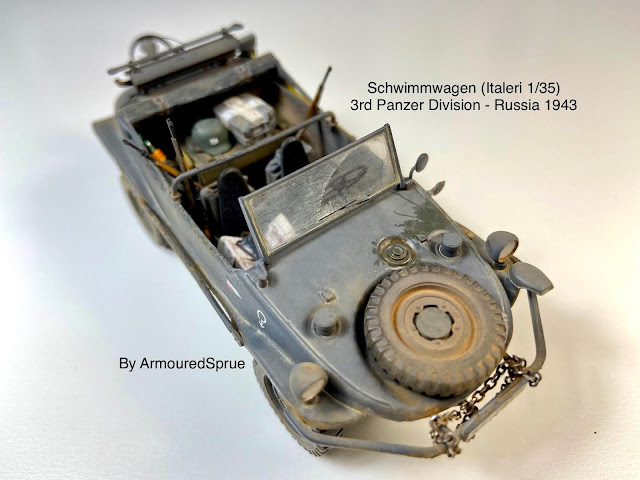
This is my latest build, an armour for a change after so many years after my last armour built.
The kit is the now ancient Italeri in 1/35th scale of the Schwimmwagen.
The kit was the most accurate and detailed back in the days. However, it now shows its age as we have new tools released. The worst thing about this kit is the amount of flash you need to clean up in every single part, and it's boring time consuming. I decided to go for an easy out of the box building and see what I can get from it.
The construction of the kit is pretty straight forward apart from the boredom of cleaning up the parts, some very fragile and requiring extra care.
I've painted the interior wood floor with my usual technique of painting first with a BUFF color, simulating the wood grains with watercolour pencils on wood colours and finishing it with clear coat tinted with Clear Yellow very diluted and several applications to build up the desired shade. The interior was painted with a base colour of Tamiya XF-63. I usually switched between XF-63 German Grey and XF-24 Dark Grey to create some contrast between various parts.
Next I've masked off the wood parts and sprayed the German Grey.
I had a little bit of issue with gaps when I glued the top to the Botton part of the hull, but was easily fixed with plastic putty. The rest of the building was pretty much following the instructions. Decals applied directly over the paint without clear coat and settle with Micro Set and Sol decal solutions.
So I started with the weathering. I basically used Pastel Chalks finely grated, watercolour pencils and oils. I applied with mineral spirits as fixing agent.
For weathering the windshield, after painting the frames with German Grey, I started by masking the wipe area with Tamiya tape. Following I applied Mr Weathering Color - Sundy Wash, waited for a minuted and then wiped it off with a flat brush.
The wipe was then painted with Tamiya black.
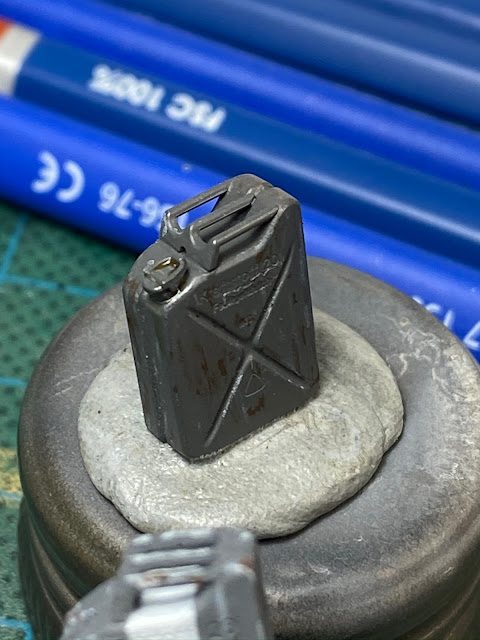
After adding the small details such as: machine gun, rifles, map, binoculars, jerry cans (water and fuel) I did apply a final Mr Hobby matt coat to seal it all.
 |
| A nice bottle of red |
Here are the final photos, enjoy!


No comments:
Post a Comment