Here is my new victim, the Bf109G6 from Airfix.
First impression? Not a top notch kit, but not bad at all. Good kit for the buck!


The kit presents three painting schemes:
- "MT-422" flown by SSgt. Bjore Hielm of 2/HLeLv 31, Suomen Ilmavoimat (Finnish Air Force), 1948.
- "Double Chevron and Bar" flown by Maj. Kurt Brandle of II./JG 3, Luftwaffe, 1943.
- "4-70" of 23 Gruppo, 3 Stormo, Regia Aeronautica, St. Cerveteri, August 1943.
Here are the photos for the instructions and decals, just in case someone needs it.


Looking through the web the only profile I found was this one below:

However, in various discussion forums such as: Webkits, Hyperscale, Britmodeller and ww2aircraft. I found that the shark mouth and the bat+moon emblem never were applied together.
According to that sources the MT-422 ME109 was a G-6 allocated to 2/HLeLv 31 in Utti, Finland, with W.Nr. 411938, Stammkennzeichen RX+RX. Also, the MT-422 was one of the very few G-6 aircraft to be repainted in so called Finnish War scheme: Upper surface in Olive Green + Black and Underside in Light Blue Grey (DN-Grey).
 |
| Source: http://ipmsstockholm.org/ |
It also states that SSgt Borje Hielm (later founder of the Finnish IPMS branch) painted the famous shark mouth on his plane (MT-422). That took place in February 1948. But the nose art was only for a short period due to the painting being ordered to be washed out before Air Force Day (06/03/1948).
The Bat + Moon emblem was introduced to use from June 1948 onwards. Thereafter, most probably the shark mouth and bat+moon emblem was not painted at the same time, because they did not exist in the same period of time.
Another interesting information is that the MT-422 was "normal' G-6, this meaning: heavy framed canopy, short tail and sometimes wing-gun gondolas were installed, but no guns inside the wing. Another interesting feature is the spinner in RLM70 (not black) with White tip.
After saying that, I'll be doing my model as per the profile below, except for not using that weird green on the spinner.

Here is the only photo of the real aircraft that apparently exists:


Following my research in this bird I found the difference between the original G-6 instruments panel and the Finnish version for night fighters that was introduced for the first time in this plane:
I also found some interesting data about the camera that was fitted to these planes, see the photos below:
I'm still not sure if I'll be able to scratch this part since it is so small. I'll give it a try though! |
| The top panel is the G-6 original and the bottom one is the Finnish version designed for night fighters |
 |
| Schematic for the camera fitted to the canopy |
 |
| Here is the real deal |
Checking the overall fit of the model I've noticed a big mistake, the bulged fairings on each side to the engine cowling (they are for the MG131 spent belt chutes), which is a characteristic for the G-6 version onwards came as one big piece in the kit. So I decided to try to correct it a little. See the photos below.
 |
| Here is the problem. It looks like a single part on the top of the engine cowling. |
 |
| First I used a template to mark where I would like the fairing edge to be. Did the same to the other side. |
 |
| After sanding and filling this is what I got. Huge improvement I reckon and only took me 10 minutes. |
 |
| Here it is after completed. |
 |
| Another view. |
 |
| The support for the 300 Litre drop tank |

Tamyia represents a Type D.
Another interesting detail is the tube pointing out in front of the tank, see photo below:


Here is some progress with the interior scratch building:
 |
| I have scratch built a new cabin floor and back panel. I'll still need to scribe the detail on the back panel after I glue it to the fuselage. The seat was made to shape using the existing kit part. |
 |
| Not a good photo, but the arrow is showing the new control stick. I made it using a hypodermic needle shaped to the correct position and detailed with some sprue on the top. |
 |
| The panel was made using the photo above in the post for the Finnish upgrade. It was made using two layers of plasticard. There is not much you can see inside after you install the closed canopy, so I think this will do! |
Here is some update and photos of the progress.
 |
| The format I've made for the seat was wrong, so I corrected it. |
 |
| Here is the panel after painted. |
 |
| Floor and control stick. |
 |
| Details of the cockpit sidewalls, not many of this is visible after the parts are joined together though! |
After a session of putty + sanding I ended up with this:
 |
| Fuselage halves sanded and ready. I had to fill the panel lines just in front of the cockpit since they were wrong. Than re-scribe the correct ones. |
 |
| I also added the door detail for the compartment behind the seat. |
 |
| Since there is not much you can see after the canopy is closed I just used some PE set for German seat belts to detail the seat. |
 |
| I did spray a coat of RLM66 interior grey where I had sanded. Now I need to weather/wash it before installing the seat and closing the canopy. |
Finally I add the wings to the fuselage. I have used my unusual method of gluing the upper wings to the fuselage first before gluing the underside in place. I found this always allows me to avoid the gaps close to the wing roots and fuselage in the most visible part of the model. The whole process was pretty straight forward and little putty (almost nothing) was used to seal the gaps underneath. Here are some photos:
 |
| The putty is were the machine guns gondolas were suppose to go, but I'll not be using them. You'll notice some Mr Surface 1000 was used to fill the gaps for the wing's joints. |
 |
| Starboard side showing the wing roots, no putty or sanding required. |
 |
| Port side showing the wing roots, no sanding or putty required. |
After dry-fitting the nose radiator I realize that it needs an improvement. So this is my next task.
 |
| I'll add a screen to the front of the the radiator. |

Please repeat this mantra after me: "Mask canopies are fun! Mask canopies are fun! Mask canopies are fun! Mask canopies are fun! "
Finally after 2 days dealing with the awful task to mask the canopy, I've finished!

 |
| I tried to improve the sand filter a little by following this photo from Messerschmitt Bf109 F.G, &K series by Jochen Prien & Peter Rodeike |
 |
| I drilled the front end and add the support to the fuselage |
 |
| Port side view |
 |
| Another front view |
 |
| Starboard side view |
 |
| The antenna mast in place |
Added the pitot tube and fuselage antenna (scratch built from syringe needles).


Pre-shade done using Tamiya acrylic XF01 Flat Black.


Following I did apply the underside colour, in this case I followed this indication:

I use a program to generate the colour mix called Alquimia, you input (in this case) the RGB numbers for the shade (for the Ligh Blue "DN-colour = 156/186/181) and it returns with the formula to mix using Tamiya colours (my preference). For this particular shade it was 8*XF23+1*XF02.
Here is the result:

As usual I applied very thin coats (1 part paint : 4 parts thinner X20A).
For the upper surfaces I've started masking with Silly Putty (I love this thing!).

And then I painted the Olive Green (1*XF21+1*XF22+1*XF65, all Tamiya acrylics).


Time for masking before applying the Musta Black. I did the mask using Silly Putty as before.


Here it is, the camouflage applied. My representation of the Musta Black shade was made mixing 11*XF02+1*XF65 according to the Alquimia mix.

I also did paint the spinner white and black. I did using a circle template.


As you can see it still have some marks and scratches, but after adding the weathering this will help the effect. I also can re-touch using the airbrush.
After letting the paint dry overnight it was time to get it a cool clear coat of Future=Pledge.
I usually spray a mix of Future + Tamiya X20A at 1:1 ratio, applying in thin coats until shining. Again, let it set overnight before applying the decals.
I then decided to use a new product I have bought recently: Humbrol Decal Fix.
Disaster! When I placed the decal and used the decal fix I've noticed a reaction under the decal, fortunately the decal covered it, but one small drop in the wing tip dissolving the paint.
 |
| The red arrow shows the area affected by the decal fix |
So I had to repaint it.
 |
| I think I fixed it! |
Continuing I add the decals, very simple and no dramas here. After adjusting the decals with Micro Scale SET and SOL.
To finish it up, I gave a final coat with Future and set it to dry.


It was time now to start with the weathering.
First things first, I did apply a wash using Tamiya Panel Accent (mixing Brown, Black and Grey).
Here it is:


Continuing with this building I finally touched up some parts of the camouflage and applied the the matt finish.
For the flat coat I've tried something different. I have heard about people using Future + Tamiya Flat Base, so I decided to give it a try.
I mixed 4 or 5 parts of Flat Base to 10 drops of Future + 3 drops of Tamiya thinner (X-20A).
I airbrushed it and the coat was smooth and gave a semi-flat finish that I liked.
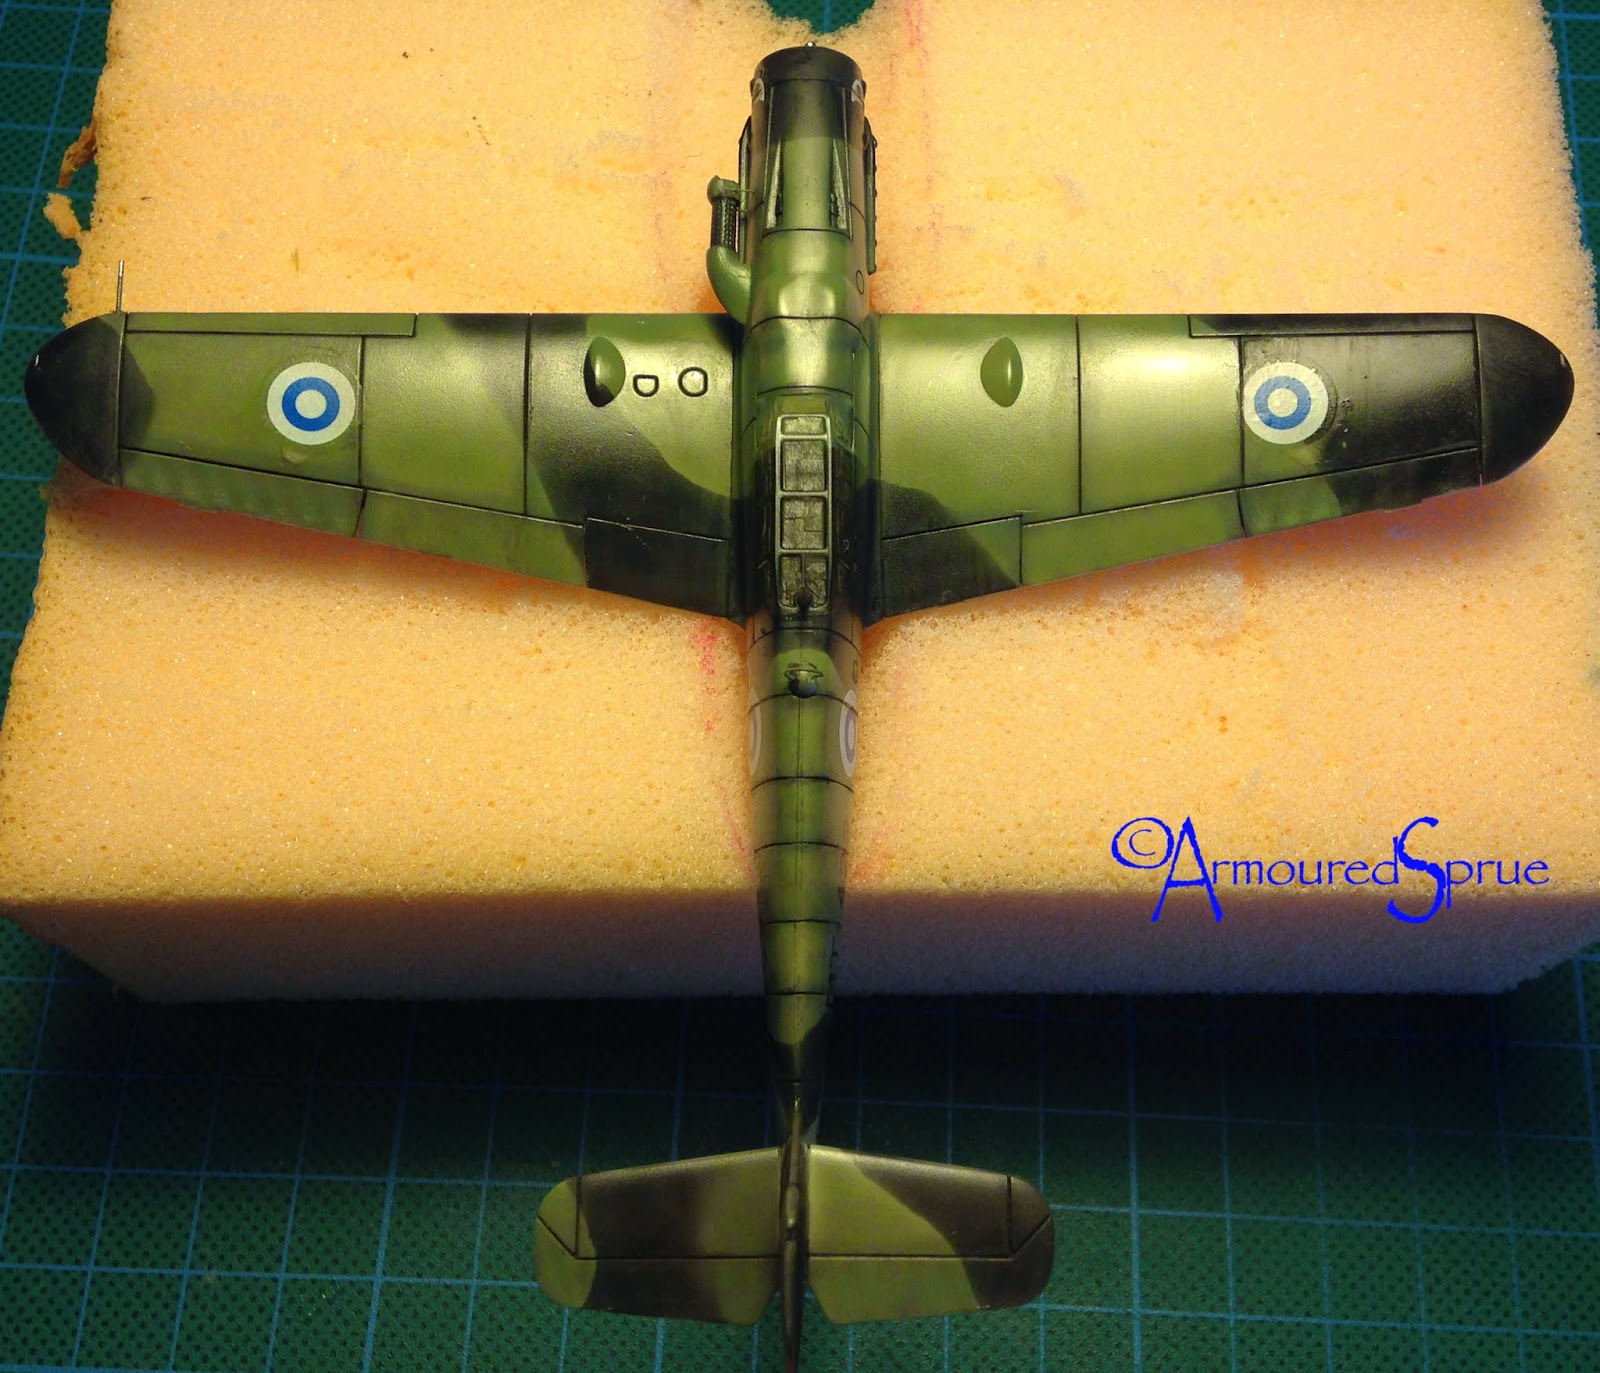
Here are some photos:


Now it's almost done! Just need to get the bits and pieces together.
To finish off this model I glued all bits and pieces in place. No dramas here, everything fit perfectly.
I've used the black pastel chalk (Yes! I still use them! :) to simulate the engine exhaust stain.
Then I removed the mask on the canopy and as a final touch, glued the cable antenna. My method to make such cable antenna is quite simple, just use stretching treads, in my case I use Ezy Line fine. Just glue using super glue one end to the mast pole, wait to set, place another drop of super glue on the other end (where its suppose to be fixed), stretch the line as much as you can and touch the super glue. Wait for setting completely and them remove the excess. Easy at it seems!
Here a couple of photos. More detailed photos to come.


Hope yo have enjoyed! See you soon for another WIP!
Here is the link for the finished photos:
http://armouredsprue.blogspot.com.au/2015/02/me109g-6-finnish-air-force.html
Cheers!